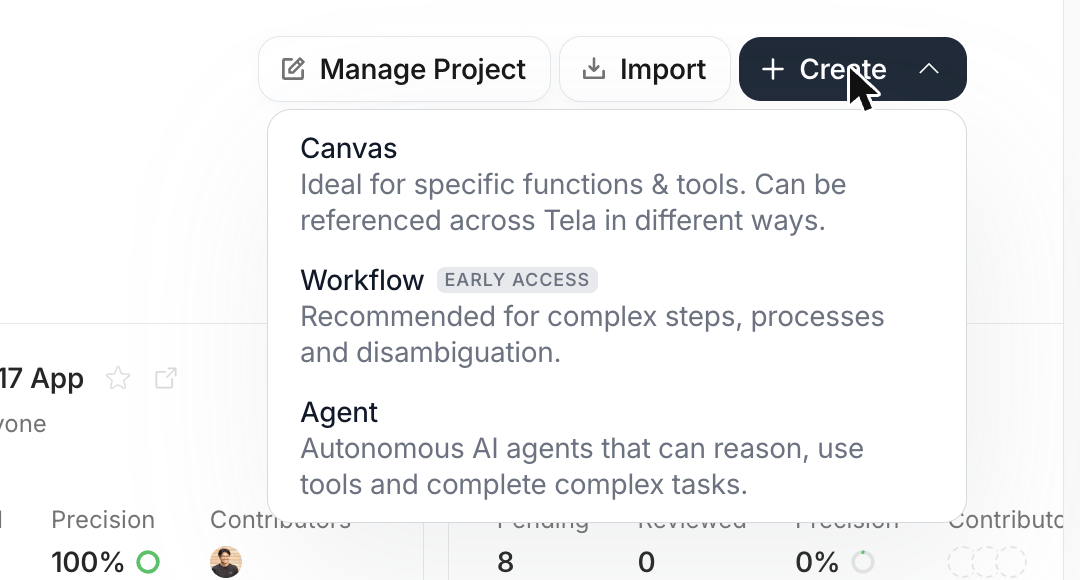
Starting from a Draft
A Canvas is where you write, test and run a single Prompt. Every new Canvas starts as a Draft: it does not belong to a Project yet and is private to you, so you can experiment freely before sharing it with your team. You don’t need a Project to get started. Projects come in later, when your work is ready to be published or shared.Creating a Canvas
From your Dashboard, following the next steps will create your first Canvas:- Click Canvas
- You are redirected straight to the new Draft, created as Untitled Canvas
- Click the title at the top of the page to rename it
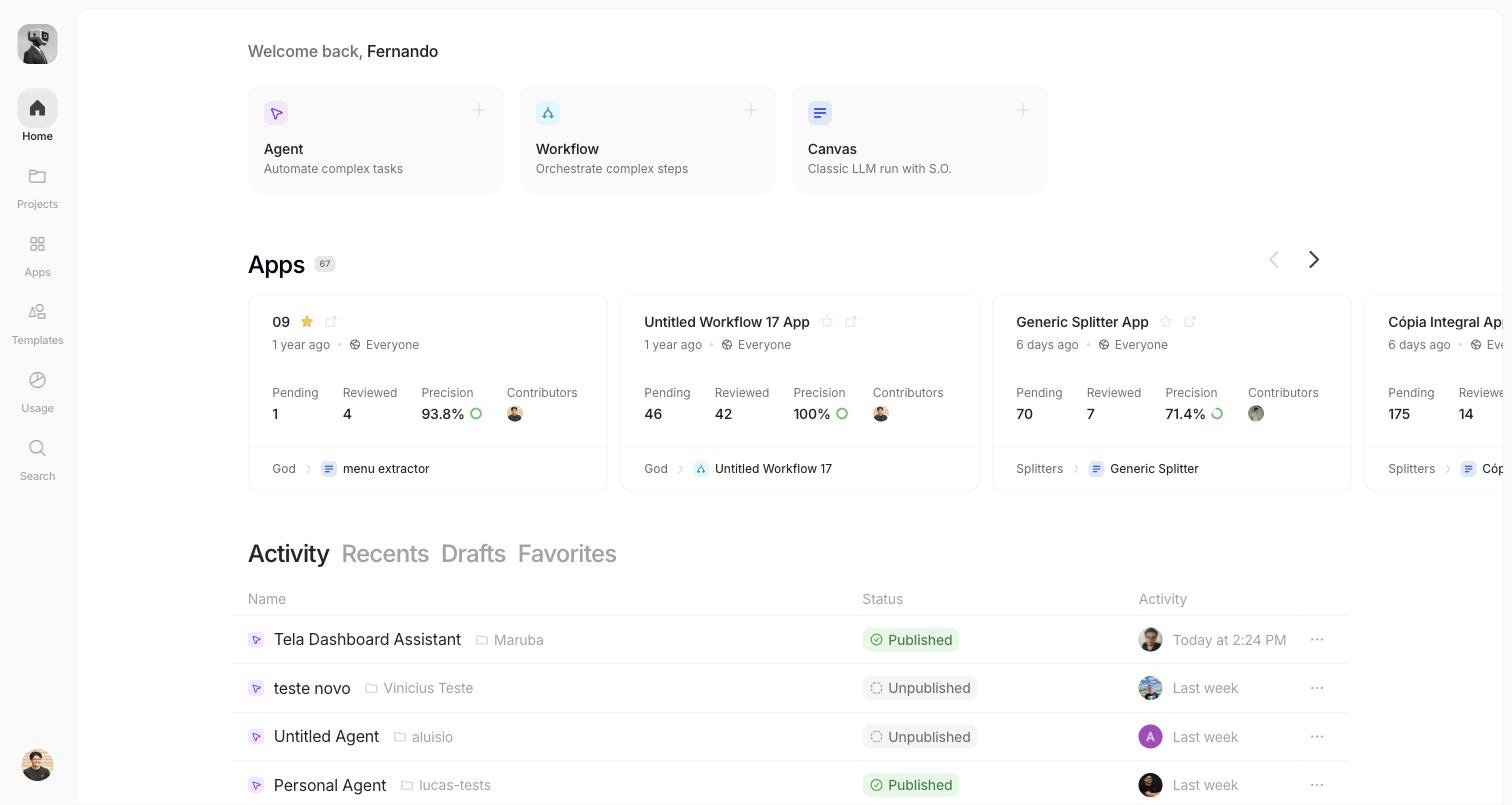
Drafts are only visible to you. Nobody else in your Workspace can see or open them until you move them into a Project.
Understanding the Canvas page
Every Canvas has different experiences, comprising the life cycle of your natural language application. You can navigate through them using the top center icons. These experiences are:- Craft: The space to write and refine your prompts through quick iterations and no-code platform
- Test: The space to test your application accuracy through structured repeatable tests
- Usage: The space to review the executions of your Canvas, when enabled for your Workspace
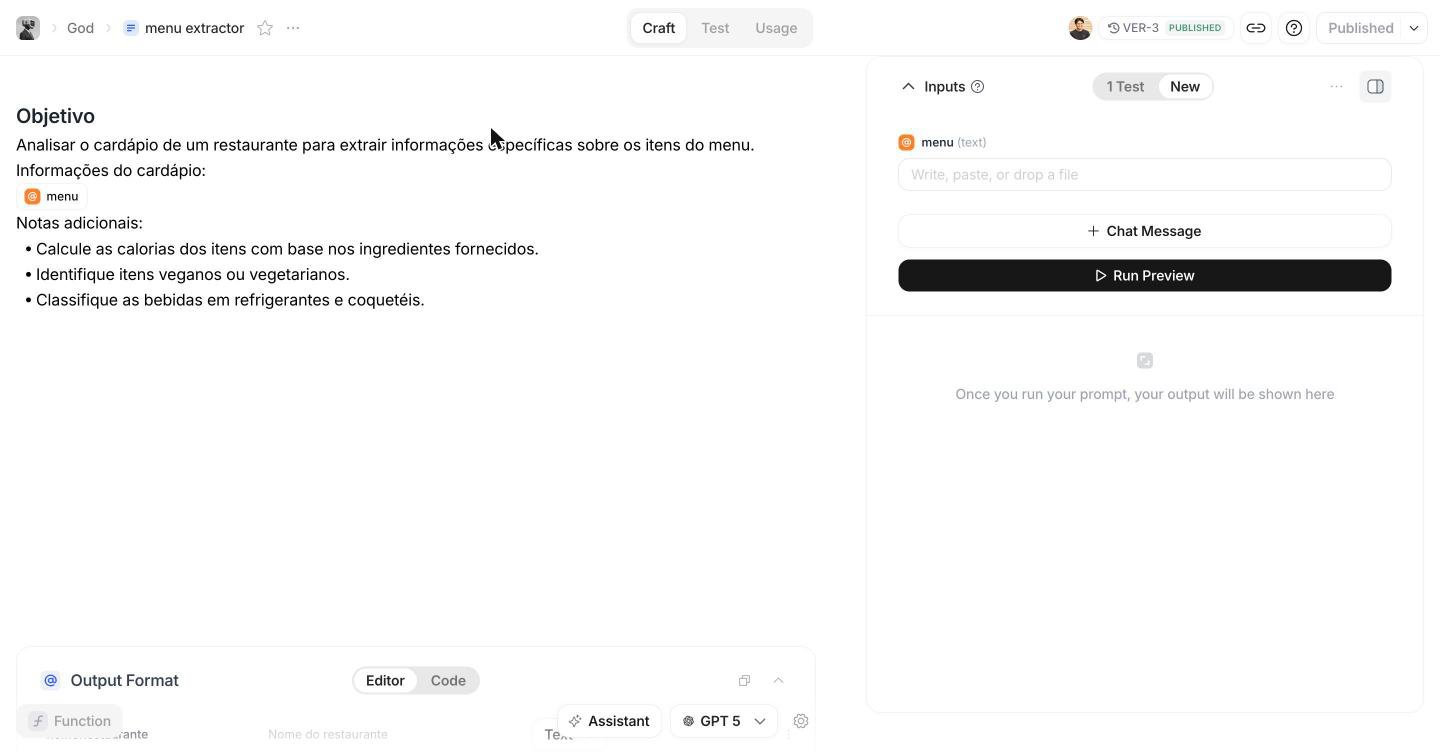
- Top left: the
…menu next to the title (Move to project, Connect via API) - Top right: Collaboration and versioning tools (Share, the version selector and Publish, where you can also deploy an App)
Running and testing your Canvas
With your Draft open in the Craft experience:- Write your instructions in the editor on the left. See Editing prompts for tips
- Add a Variable where the content changes on each run, such as the document you want to analyze. A field for it appears under Inputs on the right
- If you want structured fields back instead of free text, add an Output Format at the bottom left
- Fill in the Inputs and click Run Preview. The result appears below the button
Moving your Draft into a Project
When your Draft is ready to be shared, click the… menu and choose Move to project. Clicking Publish on a Draft also asks you to do this first. Pick an existing Project or create a new one, and the Draft becomes a regular Canvas inside it.
Once in a Project, the Canvas can be published, connected via the API, and deployed as an App. Your teammates with access to the Project can see and collaborate on it.